Simco Provides a Few Steps to Replace the Light Bulb in Exhaust Hood Canopies
A new blog post has been uploaded to its website of Simco. Where it has provided instructions on removing and replacing a light bulb in an exhaust hood canopy. The primary objective of this post is to explain the simple process of removing and changing the bulb from the device for the users’ convenience. A team of specialist content creators, web designers, and a host of individuals. With prior experience in the catering industry have designed and created this content.
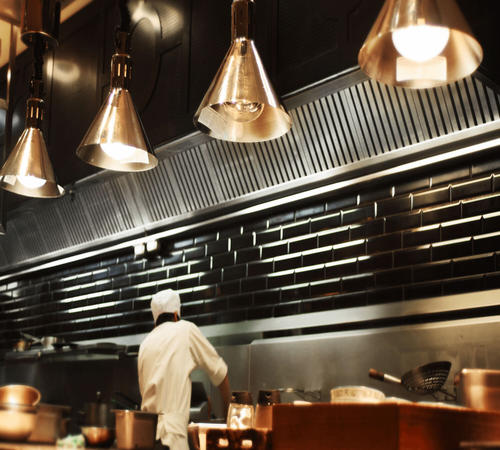
According to one senior employee of the organization, “When food is being prepared in the kitchen by the chefs, and the light in the canopy suddenly goes powerless without intimation. It becomes a source of great irritation. While it may be considered a significant problem, the intended resolution is straightforward. If the kitchen possesses an essential duct. You can turn your attention to an easily visible small bulb with a threaded base like all the typical bulbs you have installed in your restaurant.
One can easily take out and swap the illuminating source from these variants. However, if the bulb is not coming out quickly. One can employ a helpful suction tool. While the method is admittedly simple. Many food joints having the equipment don’t know the required process. That is why we decided to write a blog post mentioning the method where one doesn’t have to remove the hood. While following the mentioned steps, the task will be shortly over, and you can go back to preparing food.”
The first step mentioned in the content is to take out the cover after switching off the electricity. The blog says that most exhaust hood canopy suppliers provide a plastic cover over the illumination in Melbourne & Sydney. The written piece also mentions a step-by-step guide to achieve the process. It says that the initial step is to remove the cover after firmly squeezing near the socket. Once done, take out the lid, place it nearby and change the bulb. The surface must be adequately cleaned if it is dirty. One must use water and soap to wash the cover properly, dry it till no drop of water remains, and then place it over the light.
According to the blog, taking out the fused source is the next step. The write-up instructs not to touch it immediately. But instead, give it some time after turning the power off since it will be hot to touch. One must pinch the lighting medium near the socket and twist it counterclockwise. Do not immediately unscrew and wait for the light source to come out on its own. In addition, a few points are mentioned to continue the process.
It says that as the bulb is fragile and vulnerable, one must carefully remove and handle the product. In addition, one must wear a pair of gloves or use some masking tape if an additional grip is required. Once this process ends, design a loop to put the ends on the item. The kitchen personnel can also remove the light while using the item as a handle. The blog also says that one can remove and throw away the product if it is LED or incandescent light. However, one must take effect to the recycling center if the item is CFL since it contains some mercury.
The next step described by the blog is to be used only if a shard of the light source is stuck in the socket. The content asks to employ potato or tongs to remove the stuck item from the exhaust hood canopy. To further emphasize the point, the write-up says that one may need a pair of robust gloves and some pliers to keep a tight grip on the illumination source. One must remove the broken piece by rotating the illuminating source counterclockwise.
However, the post says that even the absence of pliers or tongs is not a cause of worry. Since potatoes are another viable option. Cut the potato. Push it over the bulb pieces, and twist the potato in against the clock move to take out the broken product. However, one must follow every precaution before attempting this method. Such as spreading a fabric over your appliances to avoid the broken pieces from falling on them.
In addition to these steps, if you want to know about the remaining steps to remove the bulb,
visit our website.
Summary
A new blog post has been uploaded on the website of Simco, where it has provided instructions on removing and replacing a light bulb in an exhaust hood canopy.
Source
simco catering equipment
Leave a Reply
You must be logged in to post a comment.